

I had a large photo frame kicking about the house, and like many of you, I just couldn't throw it out without first trying to recycle it. It was a wedding gift last year but just never found it's way onto the wall, so instead of throwing it out, I thought it would be a nice gesture to turn it into something we would use.
When designing the kitchen, we planned for a chalkboard kitchen cupboard door that I was going to paint when it was finished, but I was too scared to commit to something so permanent, and with a whole tin of chalkboard paint in the cupboard, it was worth a shot to turn this sad looking frame into a chalkboard!
I'm silly, because I forgot to take a before photo. It was a pine wood coloured frame, nothing too exciting about it. I took off the embellishments and sanded the glue off. I wasn't sure whether to paint the glass or the backing board as the chalkboard, so I did both. They both turned out okay but the glass in the sunlight looked really streaky so we chucked that and just kept the backboard. It needed one coat and dried in the sun within the hour.
For the frame, I wanted the shabby chic look to match the farmhouse kitsch style kitchen we will eventually achieve. I used Annie Sloane chalk paint (this is chalk based, but doesn't have any effect on the working of the chalkboard. You could use anything for the frame.) I chose chalk paint because I wanted to distress it with sandpaper after and then varnish.


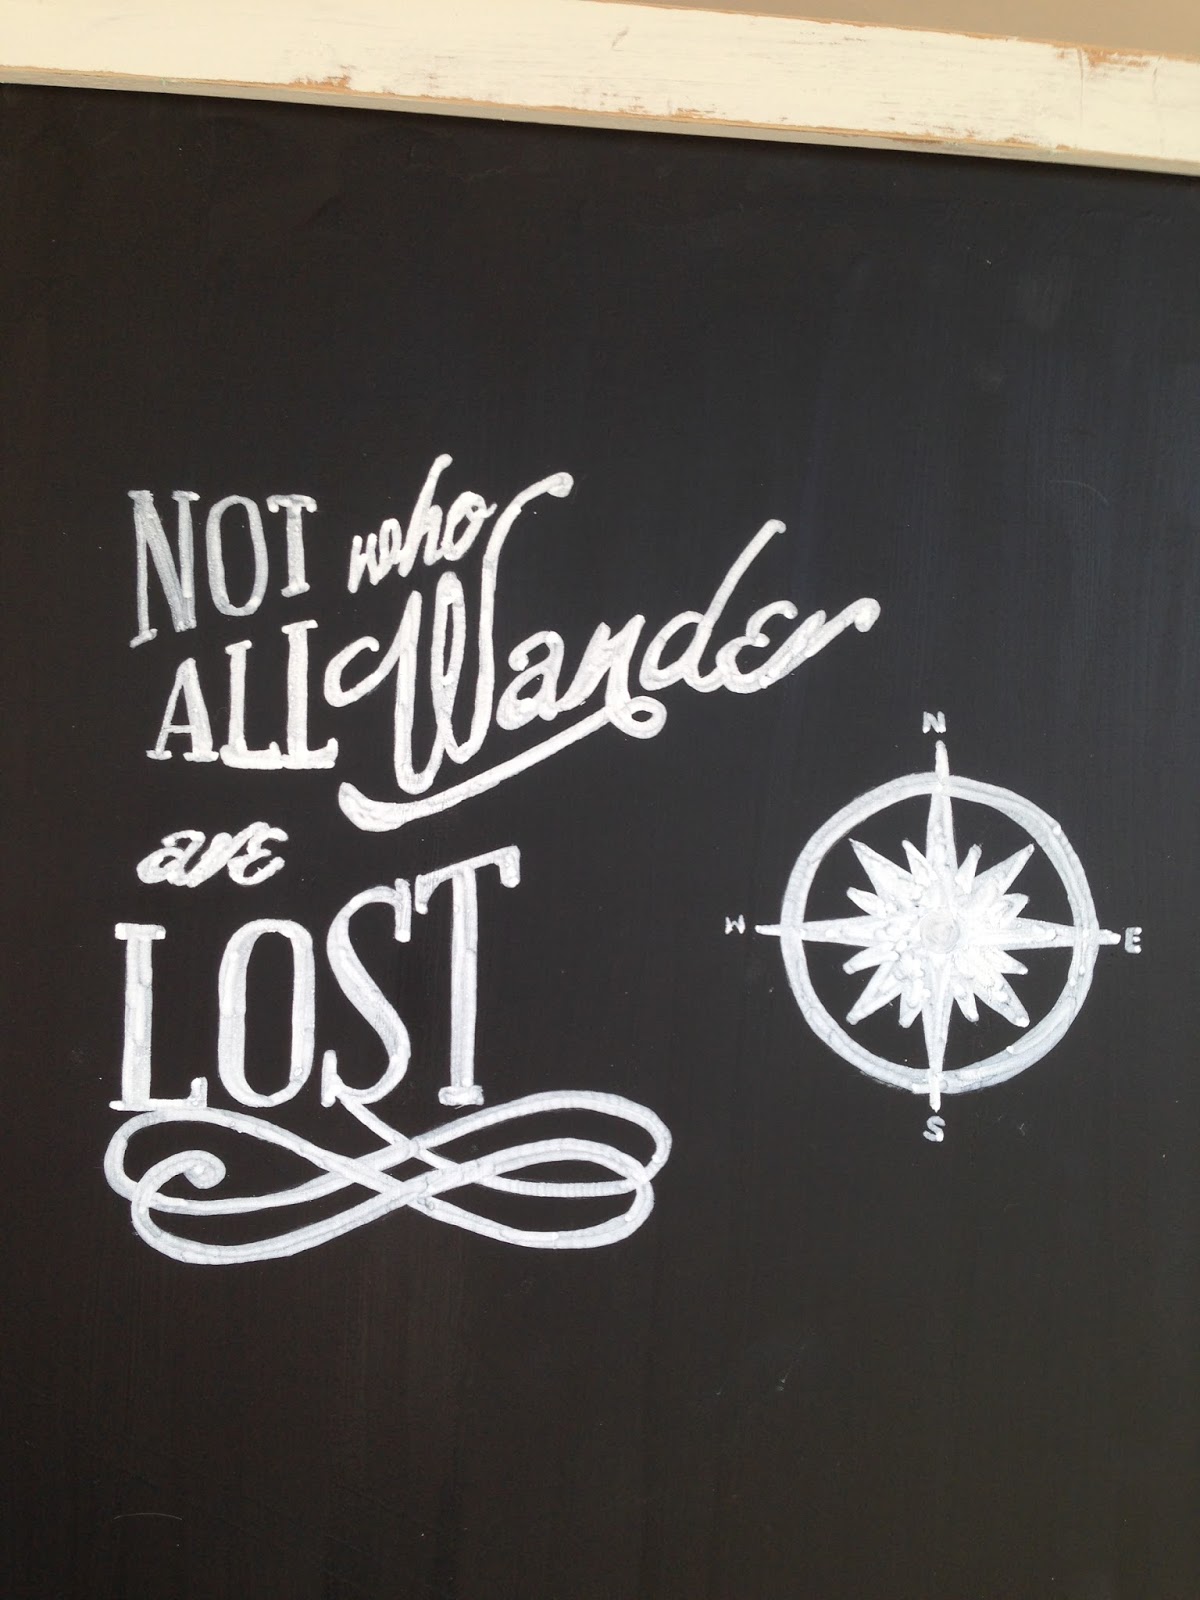
Chalkboards are great 'n all, but unless you're the calligraphy champion of Great Britain (do they even exist?!)they can look pretty naff. Well, not anymore. I'm not sure if this is already a 'thing' but I'm pretty chuffed for thinking of it all by myself...

Now I was only experimenting, so I went small to start.
1. Find a design you like and print it out. It doesn't need to be any colour or have the grey background, in fact make it as basic as possible because it only gets ruined!
2. Turn the paper over and, using chalk, colour the whole reverse side with chalk. You can use simple white, or mix it up with areas of different colours if you're feeling fun!

3. Now turn the paper back to the design side on top, and place it chalk side down onto the chalkboard. Don't press or lean on any parts if you can help it.
4. Grab yourself a sharp pencil, and trace over the design. Press down quite hard, you want the chalk underneath to transfer to the chalkboard so it's clear.
5. You've got a cute outline now, and if it's dark enough, you can leave it like that! But if it's not too clear, I recommend shading it in. I used a chalkpaint pen for this - it's about £7.99 from Hobbycraft but it lasts for ages.


And that's it! Simple as that!
I've been playing today with an Autumn/Fall design.

Happy chalking!
xo
No comments:
Post a Comment